Installation Guide
Overview
Initiating the use of our monitoring tool is both easy and uncomplicated. Please adhere to the following steps to incorporate it into your application.
Step 1: Obtain Your project ID
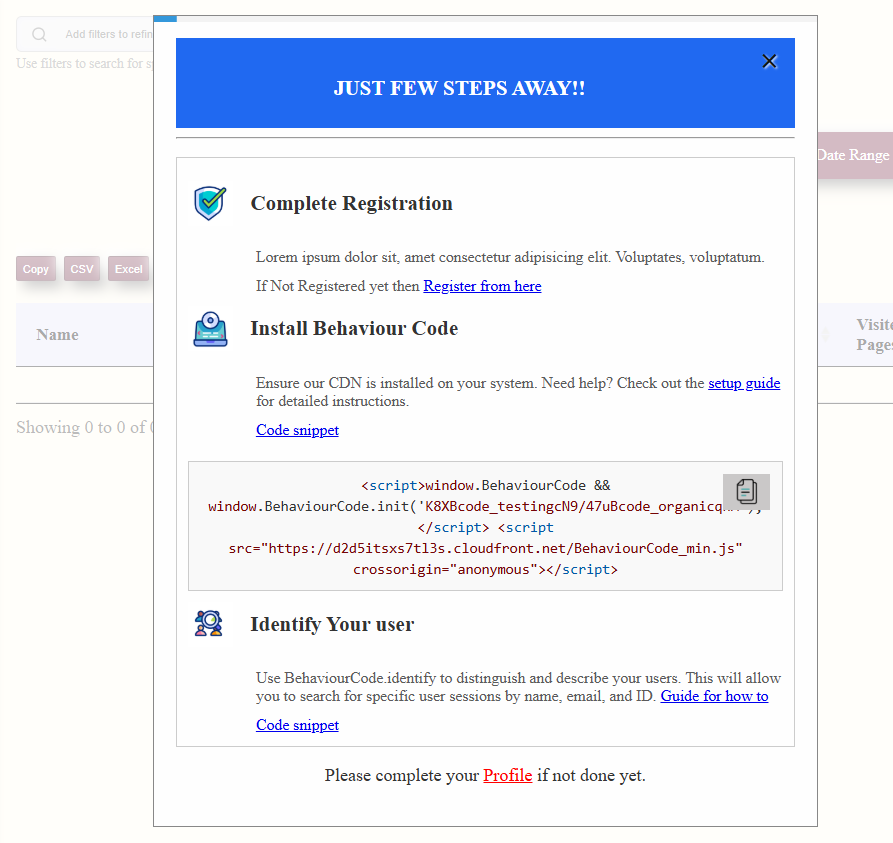
Visit our open popup and sign in to get your unique project ID.
The project ID is required to initialize the monitoring service in your application.
Step 2: Install the SDK
You can install our SDK using NPM or include it directly using a script tag.
Option 1: Using a Script Tag
-
Add the following script tag to your HTML:
<script src="https://cdn.yoursdk.com/your-sdk.min.js"></script> -
Initialize the SDK:
<script>window.BehaviourCode && window.BehaviourCode.init('226/223');</script>
                                <script src="https://d2d5itsxs7tl3s.cloudfront.net/test1.js"></script>
Option 2: Using NPM For React Users
- Open your project in the terminal and run:
$ npm install --save your-sdk-package-name -
Import and initialize the SDK in your client-side code:
import YourSDK from 'your-sdk-package-name'; YourSDK.init('YOUR_Project_ID');Make sure to replace
'YOUR_PROJECT_ID'with your actual Project ID.
Important: This initialization must be done client-side to capture user interactions properly.

Step 3: Verify the Setup
Once you’ve initialized the SDK, visit your app’s dashboard to ensure data is being sent correctly.
You should start seeing session replays, performance metrics, and error logs populating in your dashboard.